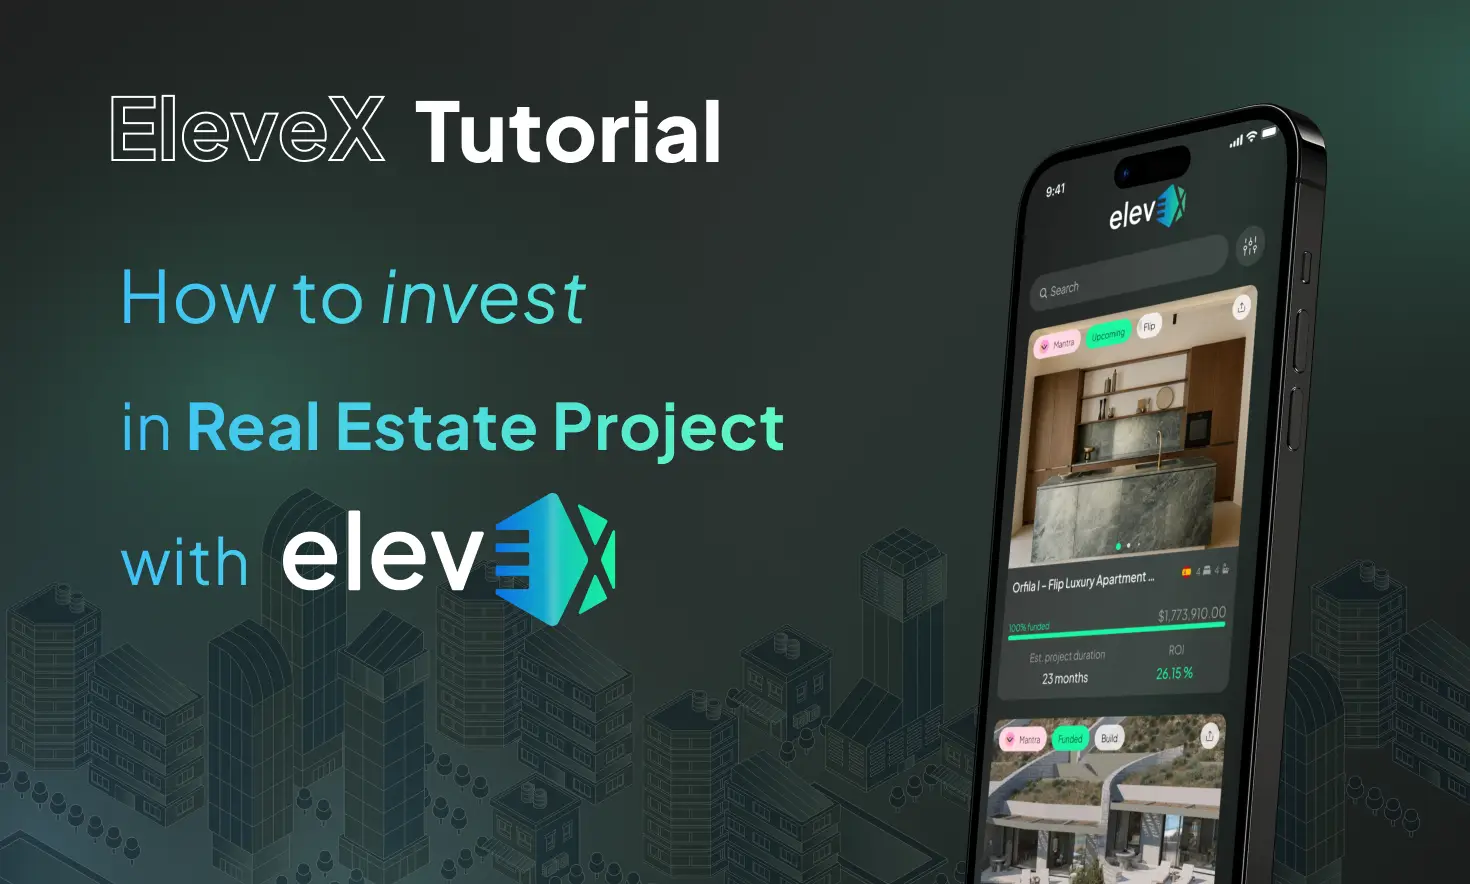
Welcome to the Elevex Testnet! This comprehensive guide will walk you through the steps of setting up your account, funding your wallet with Transak testnet tokens, and depositing Sepolia ArbETH. Follow these instructions carefully to get started, and refer to the Discord channel for additional resources, including links and video tutorials.
Step 1: Setting Up Your Elevex Account and Funding with Transak Tokens
1. Create an Elevex Account
- Visit the Elevex Testnet platform and click Sign Up.
- Enter the following details:
- Name: Your full name.
- Username: A unique username.
- Email: A valid, accessible email address.
- Password: At least 8 characters, with a special character and a capital letter.
- Click Sign Up.
- Verify your email by entering the code sent to your inbox.
2. Set Up Your Wallet
- Look for a MagicLink email to set up your wallet.
- Click the link to log in to the Elevex Testnet, which will create and verify your wallet.
- Return to the Elevex platform to confirm your wallet setup.
3. Set Up a Transak Account
- Visit Transak and follow the sandbox environment setup:
- Upload a fake ID (use testnet credentials from Discord).
- Complete the KYC verification using provided details:
- Name: Doe Jane
- Country: France
- Address: Paris
- Date of Birth: January 1, 1998.
- Perform face verification and upload the sample driver’s license.
4. Fund Your Wallet with Transak Tokens
- Purchase Transak tokens by clicking Buy:
- Daily Limit: 5,000 tokens.
- Per Transaction Limit: 3,000 tokens (recommended: 2,900 tokens).
- Choose USDC on Arbitrum as the token type.
- Use the provided dummy payment card for the transaction.
- Confirm the transaction with the code “checkout1!”.
- Refresh the page to see your updated balance.
Step 2: Funding Your Wallet with Sepolia ArbETH
1. Why You Need Sepolia ArbETH
Sepolia ArbETH is required to pay for gas fees on the Elevex Testnet when:
- Buying into projects.
- Creating new projects.
- Claiming tokens.
2. Options to Acquire Sepolia ArbETH
Option 1: Request Funds in the Chat
- Copy your wallet address from your account page.
- Paste it in the chat to request funding from the team.
- This is the easiest method but may require some wait time.
Option 2: Use Faucets (If You Have Mainnet ETH)
- Ensure your MetaMask wallet has a small balance of Mainnet ETH (e.g., 0.0001 ETH).
- Access any of the following faucets to claim Sepolia ArbETH:
- Alchemy Faucet
- QuickNode Faucet
- Chainlink Faucet
- Google Cloud Faucet (Requires bridging Sepolia ETH to Sepolia ArbETH).
Option 3: Use Free Faucets (No Mainnet ETH Required)
- Optimism Faucet: Requires a GitHub account and Sepolia-Arbitrum bridging.
- Stakely Faucet: Requires a tweet but provides direct Sepolia ArbETH.
3. Bridging Sepolia ETH to Sepolia ArbETH
If you have Sepolia ETH, follow these steps to bridge it:
- Go to the Arbitrum Bridge.
- Connect your MetaMask wallet.
- Select Send from Sepolia ETH to Sepolia ArbETH:
- Use the Test Node mode.
- Leave some balance for gas fees.
- Confirm the transaction and wait for the funds to transfer.
4. Transferring Funds to Your Elevex Wallet
Once you have Sepolia ArbETH in your MetaMask wallet:
- Open MetaMask and navigate to your Sepolia ArbETH balance.
- Click Send and paste your Elevex wallet address.
- Confirm the transaction.
- Refresh your Elevex wallet page to see the updated balance.
Need More Help?
Join our Discord channel to access all faucet links, detailed instructions, and additional resources, including the walkthrough video.
Step 3: Buying Project Tokens, Managing Your Dashboard, and Claiming Rewards
Stay tuned for the next tutorial, where we’ll guide you through purchasing projects and managing them in your Elevex dashboard!
This tutorial ensures that you’re fully equipped to set up your Elevex account, wallet, and funding. If you encounter any issues, refer to our Discord for support and additional guidance.